User guide
-
View microscope

The 'Microscope' icon links to the Virtual Microscope (VM) thin section for an individual rock sample, which will open in a new page.
-
Moving around the thin section

With the VM window open you can zoom to a higher magnification by dragging the slider at the bottom of the window. You can also move around the sample by clicking on the image and dragging it.
-
Magnification – zooming in and out
You can magnify the microscope image in several ways: by using the slider at the bottom of the screen; by double clicking on a mouse or touchpad; or by using pinch–zoom on a touch screen.
-
Lighting conditions

In common with a physical polarising microscope, samples can be viewed either in plane polarised light (PPL) or between crossed polars (XPL). The default view is PPL – it will have a tick showing on the button to the left of the letters PPL. To switch to a crossed polar view, click on the button next to XPL.
Switching between the two lighting conditions allows you to rapidly view either real colours or birefringence colours of minerals.
-
Hot spots
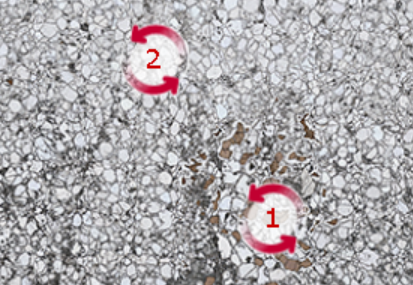
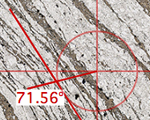
An important aspect of mineral identification is the ability to rotate the specimen, either in plane polarised light to determine the extent of pleochroism or between crossed polars to view birefringence colours and extinction. You can do this in the Virtual Microscope by clicking on a hot spot, like the one illustrated.
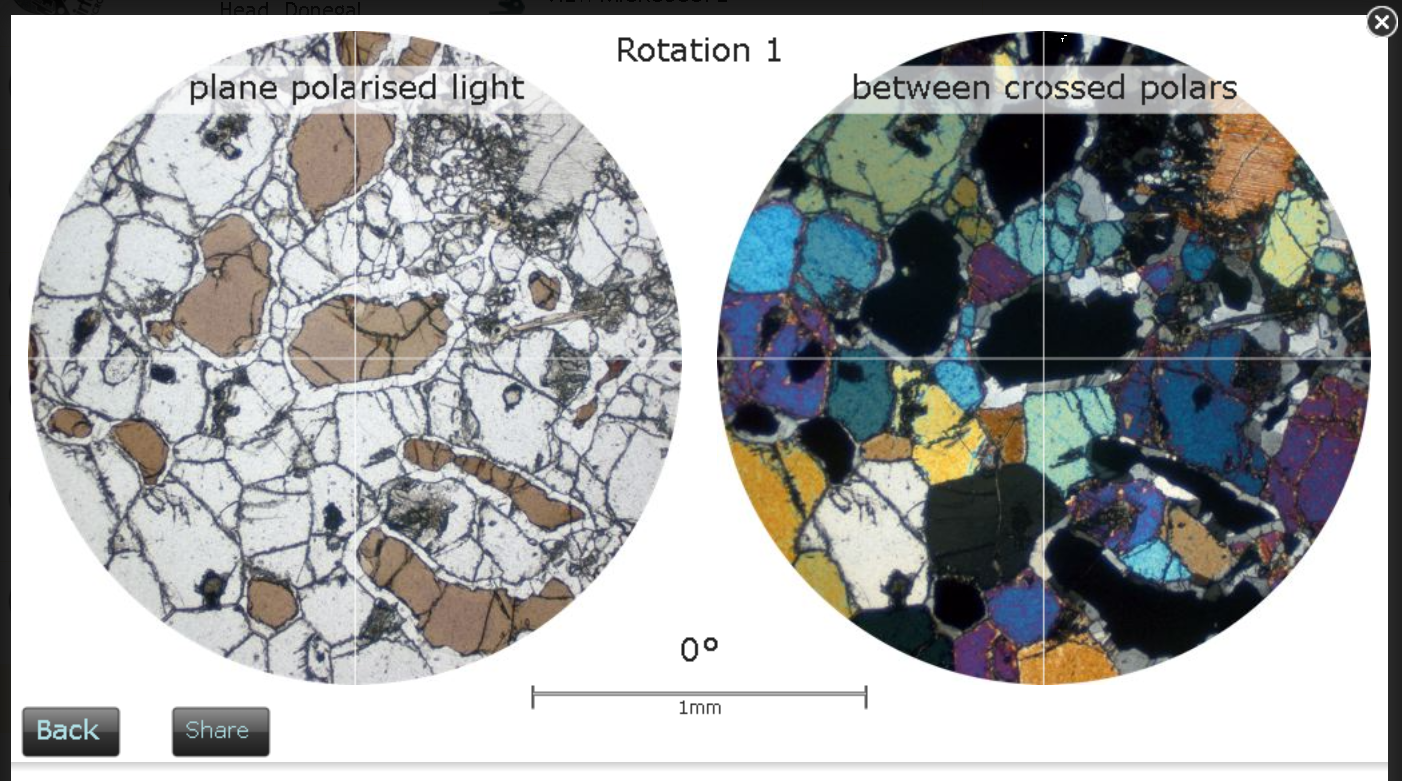
Clicking on the hot spot takes you to two circular views, one in PPL and the other in XPL. This would not be possible using a physical microscope but is possible in a VM, allowing you to view both pleochroism and birefringence simultaneously. The views can be rotated by clicking on either image and dragging in a circular movement.
To return to the previous microscope view of the sample, with the same zoom level and viewing conditions, click the ‘Back’ button at the bottom left of the window. To leave the VM at this point, click the cross at the top right-hand corner of the VM window; this returns you either to the main sample page or the Collection page.
-
Pinpointing a feature
Millimetre scales at the top and left of the thin section adjust as the sample is zoomed in and out. You can find the exact location of any mineral or feature by dragging the location cross hairs from its dock at the top left and moving it to the location required. The cross hairs stay in that position as you zoom in or out, until you either move the location point or reset the cross hairs. To reset the cross hairs, click or tap on the dock at the top left of the millimetre scale.
-
Measure tool

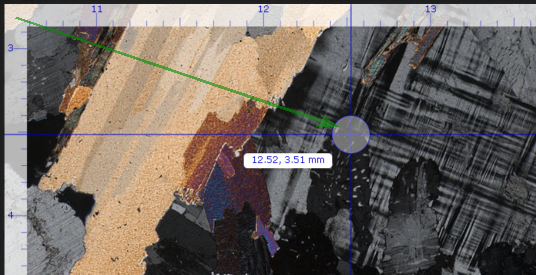
You can determine the dimensions of any mineral or feature in the sample by clicking on the measure tool button at the bottom right of the VM window.
When the measure button is ticked, the pan and zoom features are disabled. To measure a distance on the thin section, click at one end of the mineral or feature to be measured and drag to the alternate end. As the mouse is dragged, the line length is displayed and remains when the mouse is released. Distances from a single point can also be measured using this tool. Once a line has been drawn, a single click anywhere on the VM thin section re-positions the line and yields the new distance. To de-activate the measure tool, click on the measure button again.
-
Share tool
In order to allow users to collaborate or to discuss features in a VM thin section, a share feature has been embedded; it allows you to share the location, zoom level and lighting conditions. To use this facility, first identify the feature you wish to share and set the viewing conditions and zoom level. Then click on the ‘Share’ button at the bottom right of the VM window.
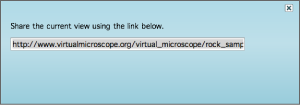
Clicking the share button opens a dialogue box over the VM window with a text box displaying a unique web address (URL). The URL can be copied from the text box and pasted into an email. You can also embed the URL in a website or a virtual learning environment. Clicking the embedded link while connected to the internet opens the Virtual Microscope website to show the feature shared using the same viewing conditions and zoom level.
Finally, to close the VM window and perhaps search for another rock, click the cross at the top right-hand corner and return to the sample or Collection page.
-
View hand specimen
The 'Object' icon links to a rotating view of a hand specimen of the rock sample, which will open in a new page.
It is possible to investigate any part of the hand specimen by rotating, zooming and panning around the hand specimen just like turning it over in your hand and using a hand lens. The specimen can be rotated 360° using the two arrow icons to the right and left. The slide bar along the bottom can be used to zoom into any location (double clicking using a mouse or touchpad and pinch–zoom on a touch screen also work). The hand specimen can also be moved by clicking and dragging at any stage.